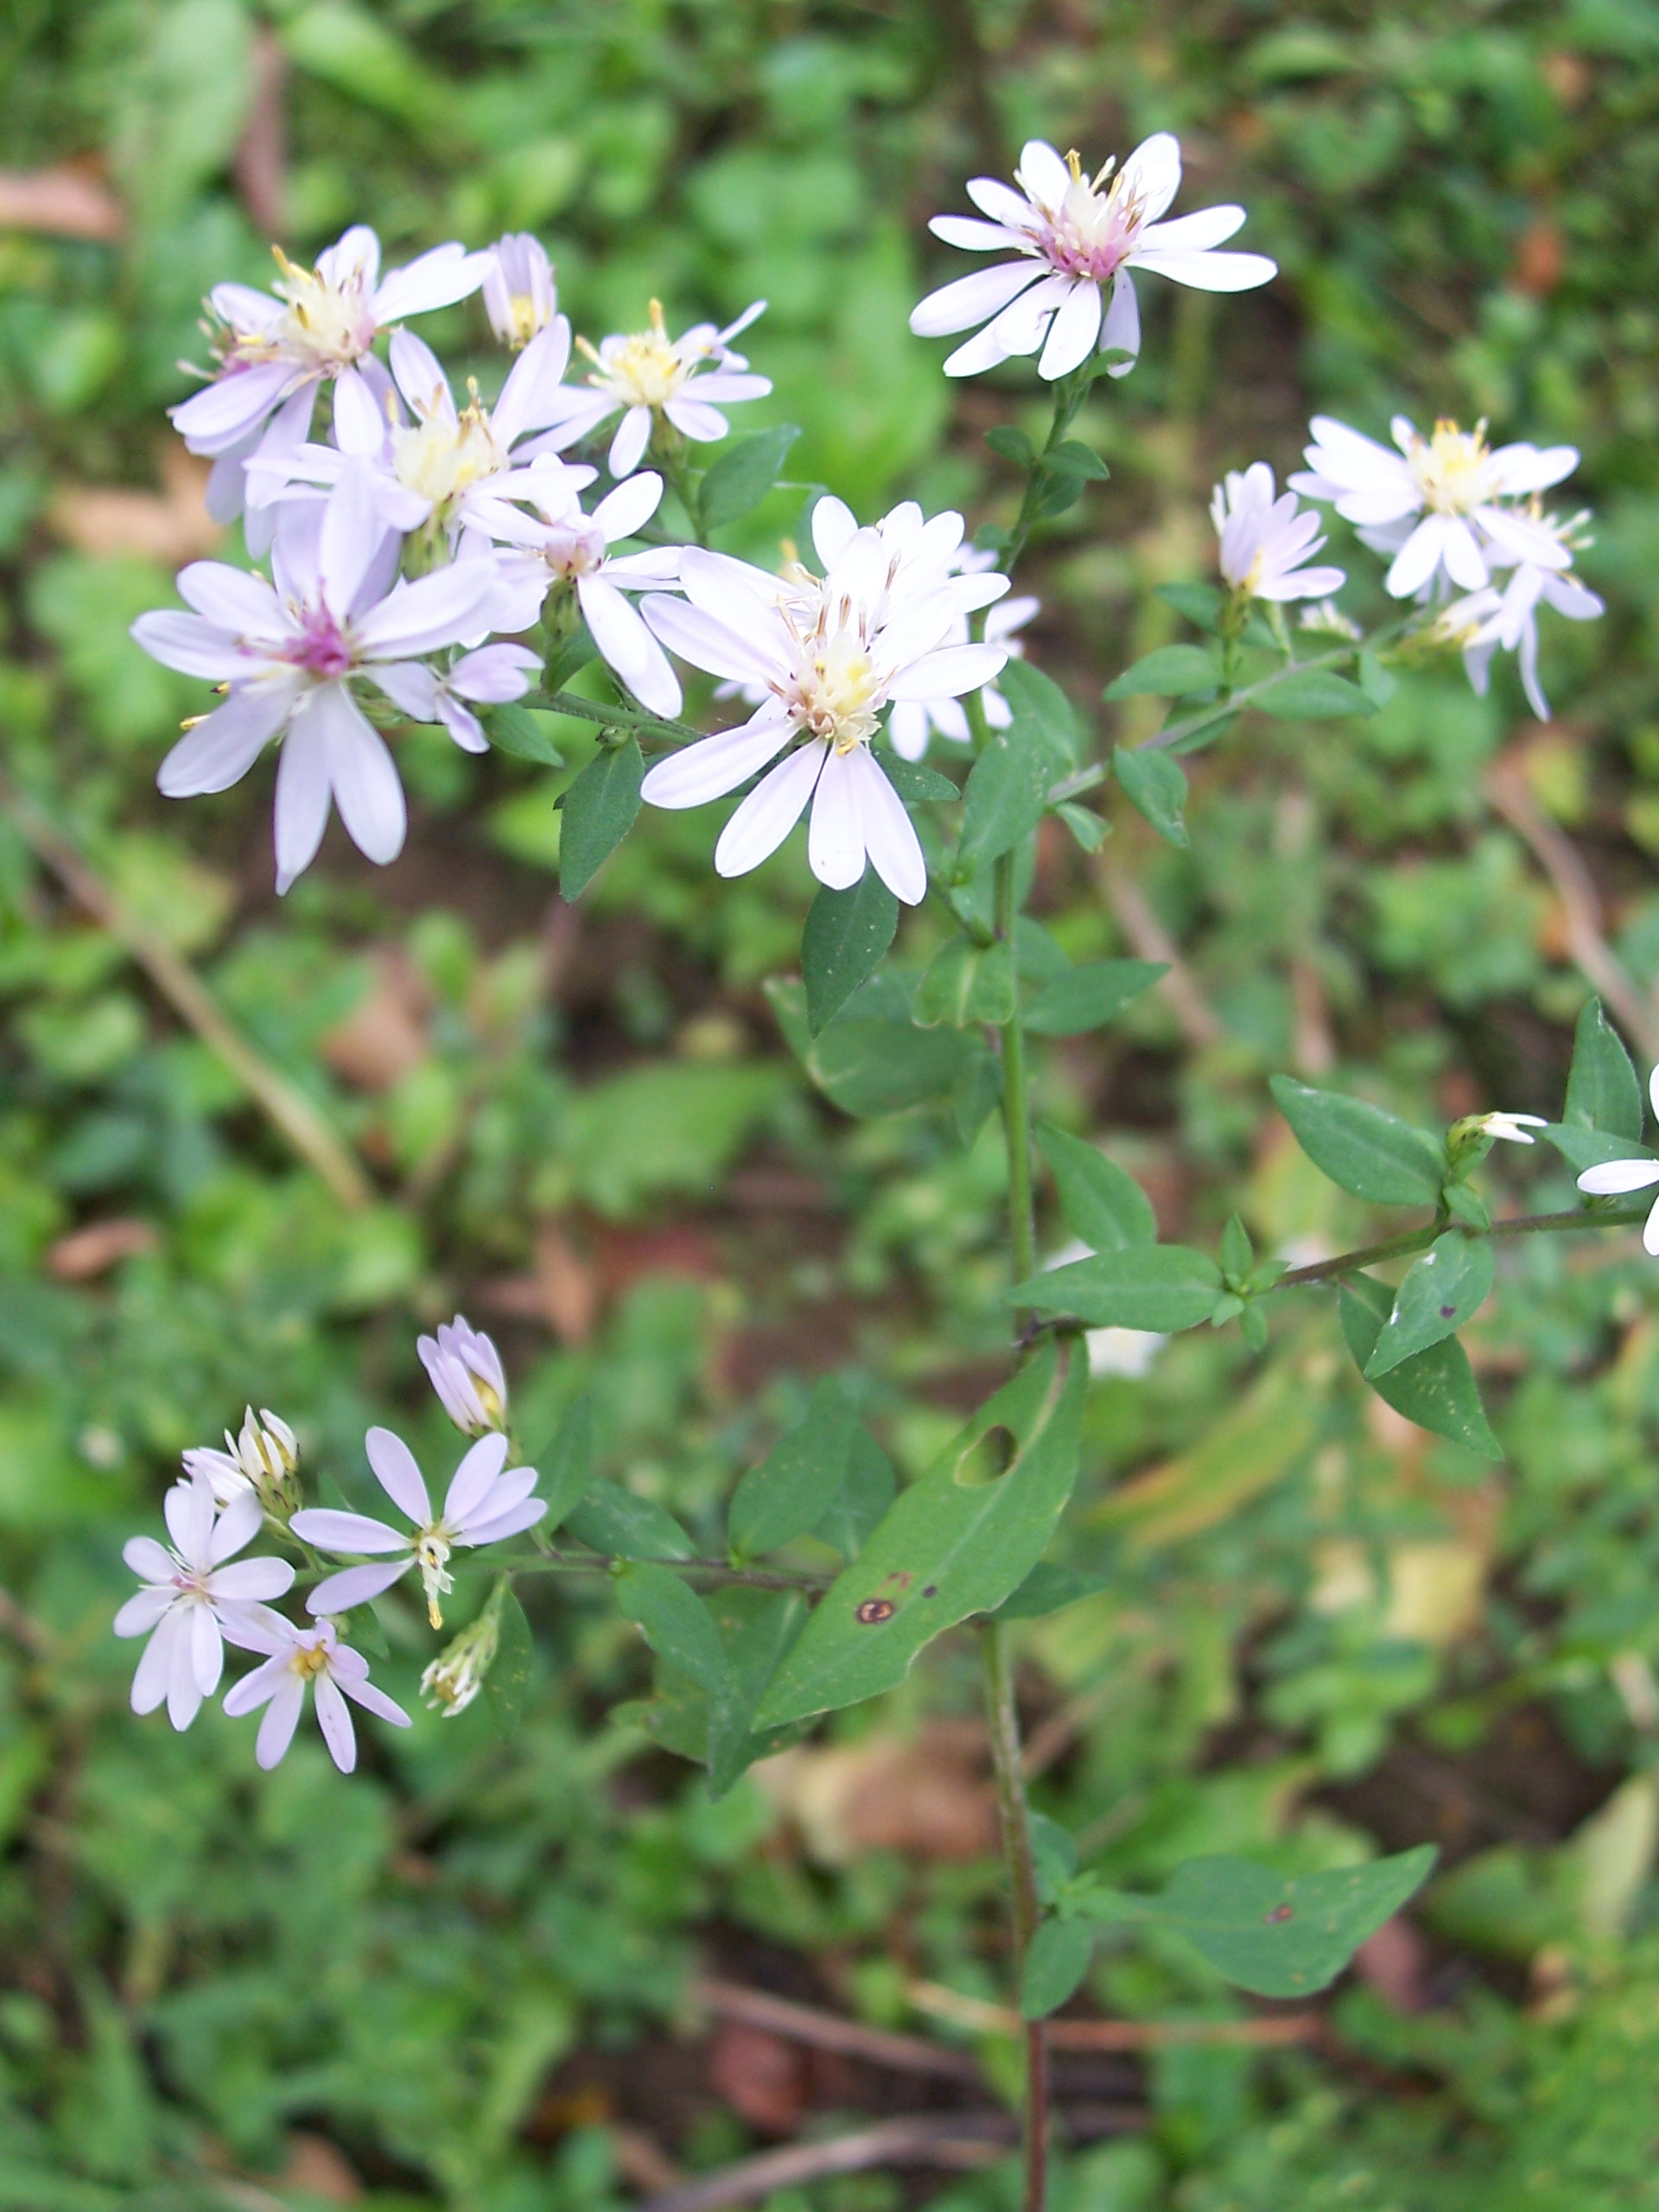
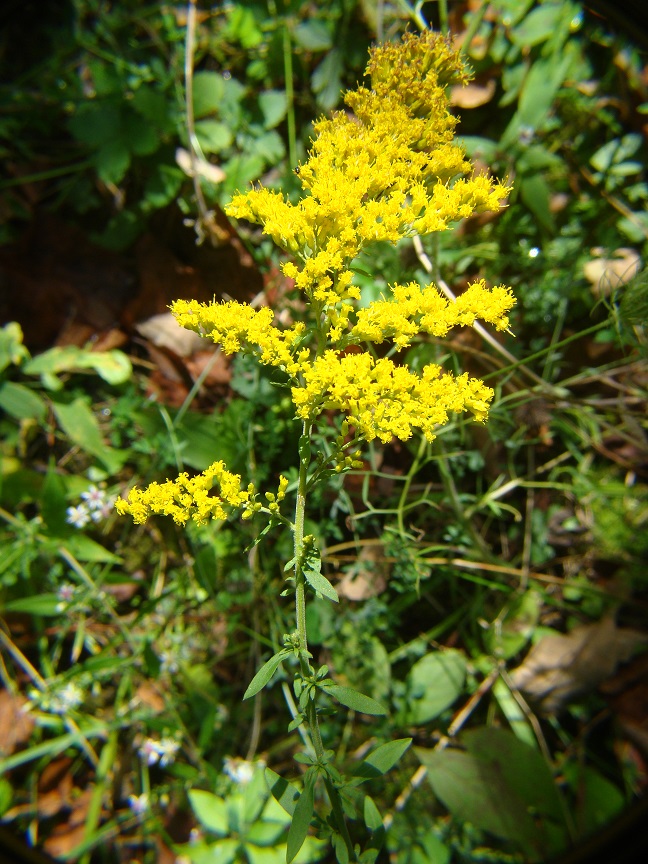
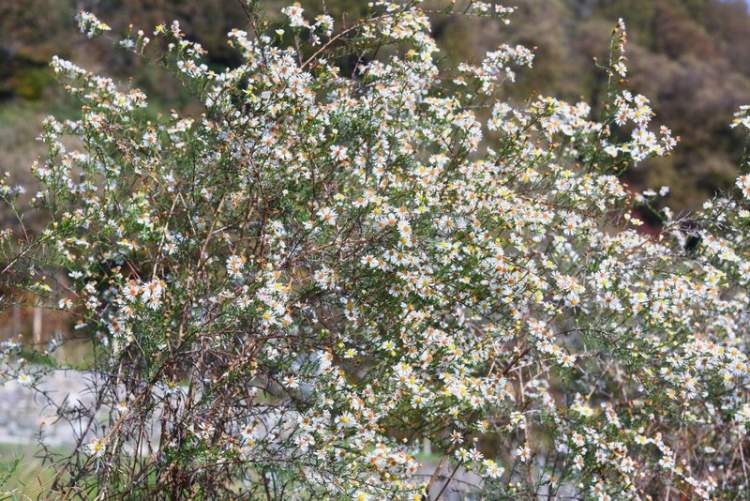
At this time, the seeds of Hairy White Oldfield Aster (Symphyotrichum pilosum) are likely ready for harvest.
Hairy White Oldfield Aster emerges from the ground, flowers for six weeks (beginning week 1 of August), sets seed and disperses its seed from late October into November. It is found on forest edges, meadows, prairies, or open woodlands and readily pops up in vacant lots, fields, ditches, or anywhere there is bare soil via aggressive self-seeding. In this manner it is not always a great choice for formal flowerbeds, but can be a great addition to wildflower meadows or perennial borders to add some late-season blooms.

http://luirig.altervista.org/cpm/albums/bot-060/symphyotrichum-pilosum3192.jpg
Seed Collection:

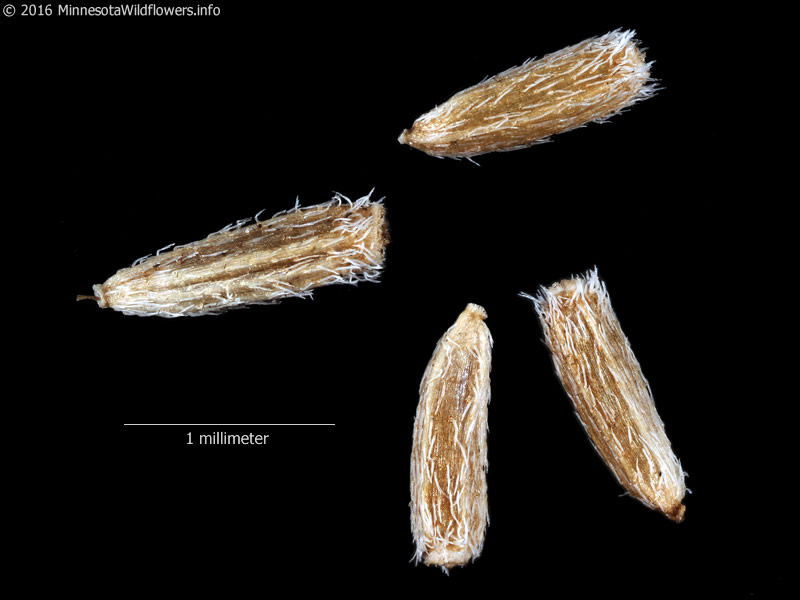
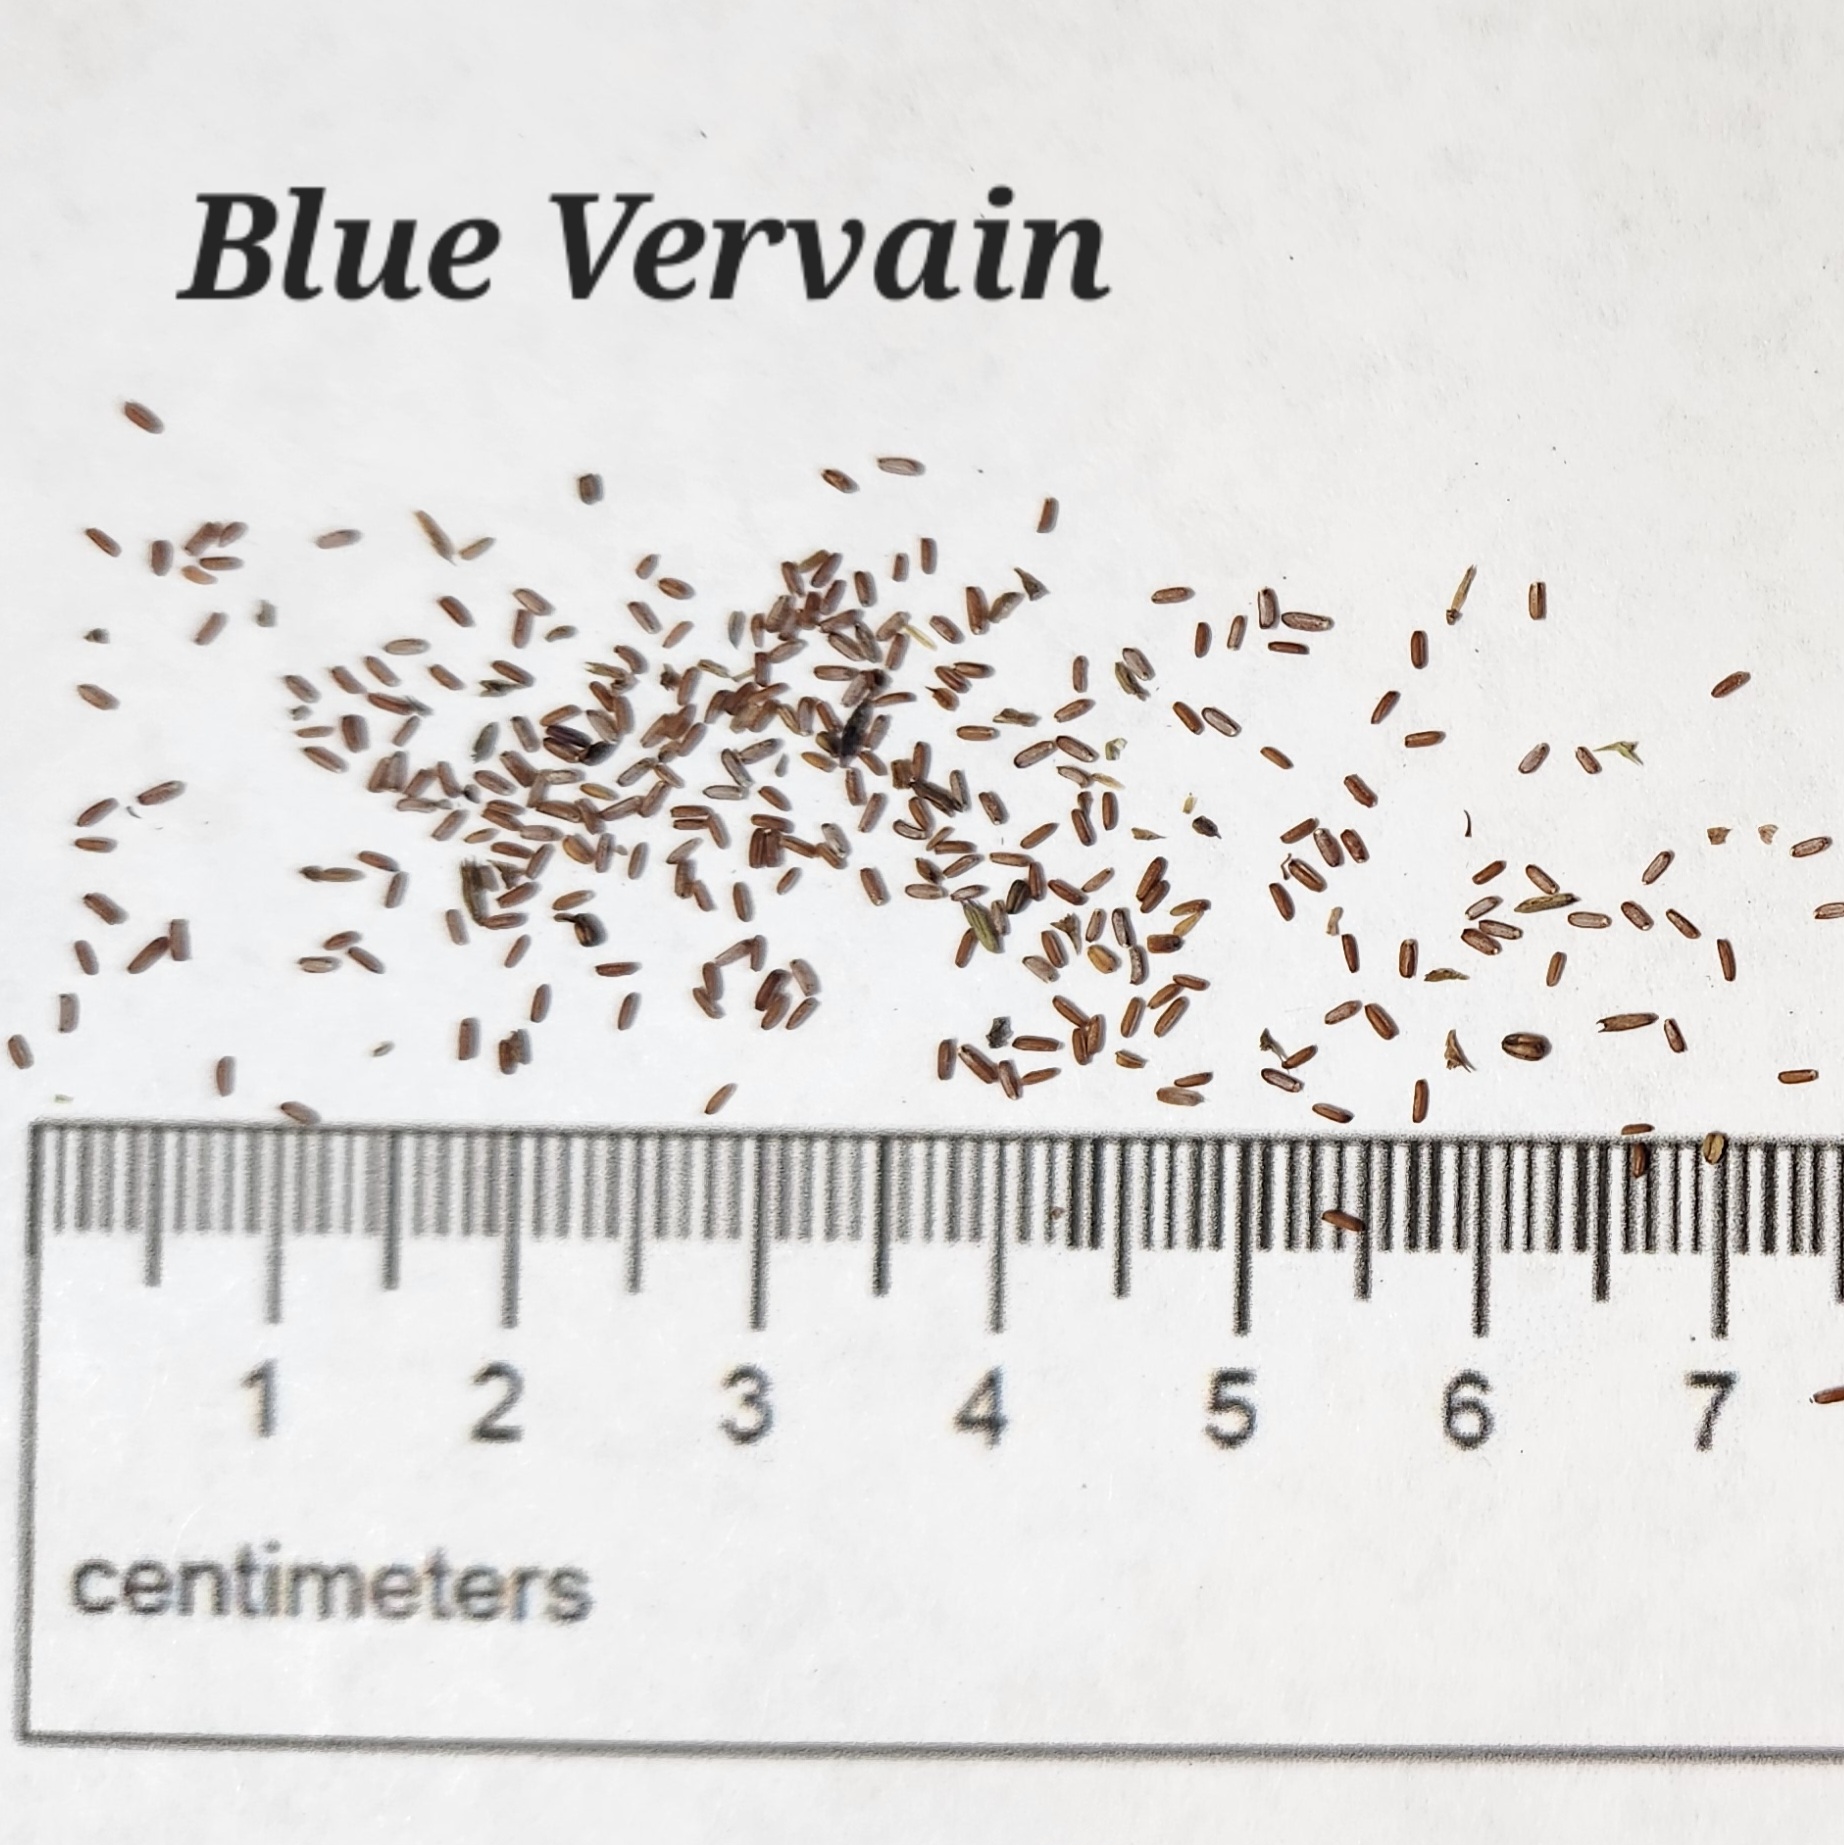
Fruit is a dry seed (achene) with a tiny tuft of white hairs (pappus, whose size is less than the width of the point of a new crayon), linear-oblong in shape, slightly flattened, grayish, and faintly ribbed.
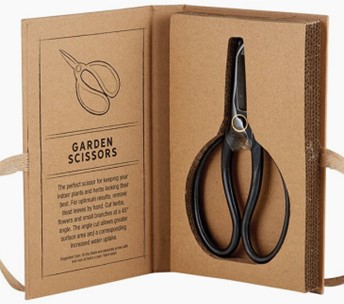
Collect them by carefully cupping your hand around the ripe seedhead (to minimize them blowing away) and cutting the plant stem with garden scissors.
Processing of Harvested Seed and Storage:

Place the seedheads in a closed paper bag (to ensure that they won’t blow away) and leave them for a week or two.
After you have let them dry, finish removing the remaining seeds by plucking the individual flowers from each stem with your fingers. Discard the stems. After you are done with the seedheads, carefully pour any remaining seeds from the paper bag used to dry the seedheads into a paper envelope for storage.
It is okay if the fluff remains attached to each seed, as it will not affect germination. Accordingly, it is probably best not to attempt to remove the fluff from the seeds as it may be difficult to do so and you also increase the likelihood of spilling your seeds in that process.
Hairy White Oldfield Aster seeds can be stored and should remain viable for up to a couple of years in a paper envelope.
Seed requires a few months of cold/moist stratification prior to germination.
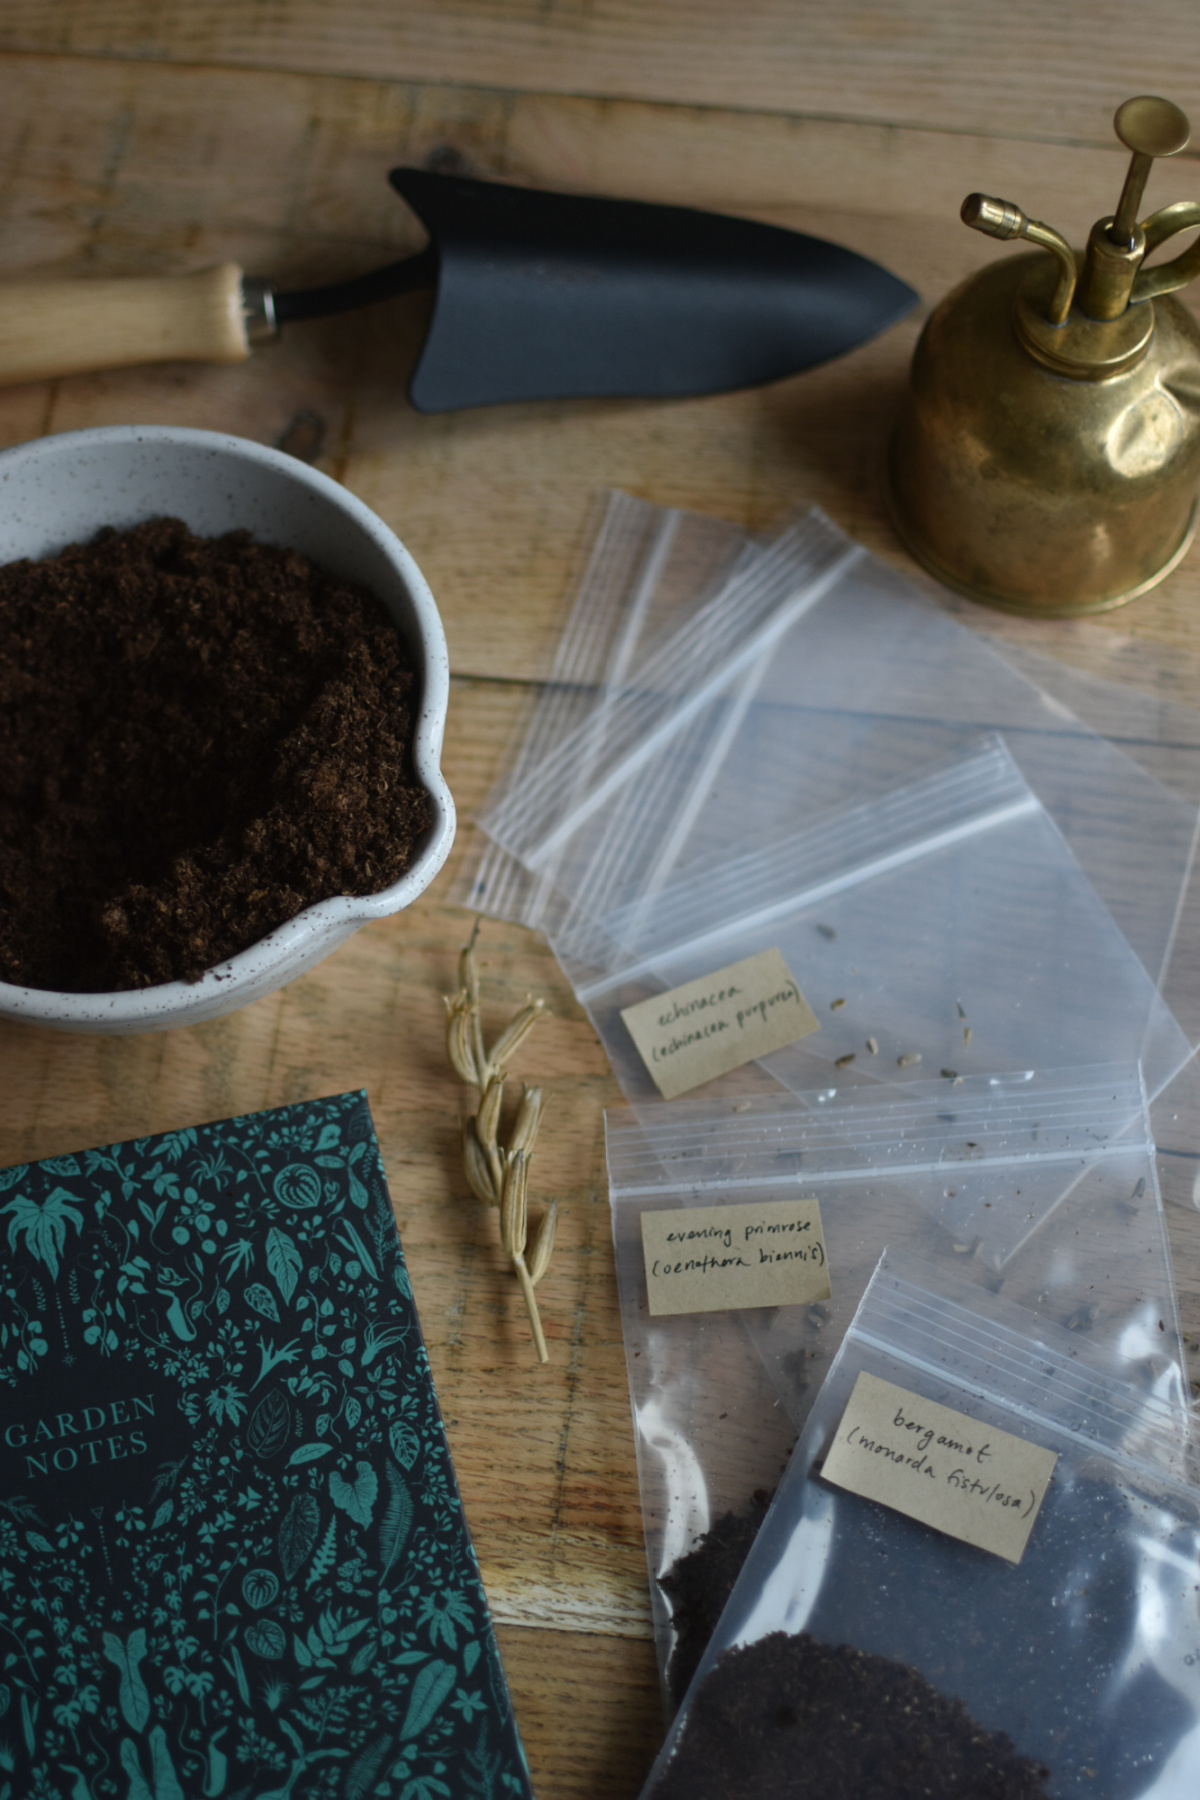
If you intend to grow seedlings for later transplant, place moistened peat or paper towels into a labeled ziplock bag (plant name and date) and then carefully empty the seeds from the paper bag into the ziplock bag. Leave in the refrigerator for 3-4 months before germinating.
Propagation by Seed:
It is probably best to simply sow your harvested seeds on the surface of a prepared seed bed (seeds need light to germinate) in late fall so that the seed overwinters and germinates naturally in spring.

Photo Credit: valkyrieh116 (https://www.flickr.com/photos/valkyrieh116/4360193931/)
Alternatively, you may begin plants indoors after cold/moist stratification of your harvested seeds. To do so, lightly press the seeds into top of your slightly moistened potting mix (seed needs light to germinate). Keep the soil of each container moist until germination occurs. They should not be allowed to dry out. Germination takes about two weeks. Then transplant the contents of each container into the spots you’ve selected to establish these plants.
Seed-started plants may flower in the year that they are sown.
Happy harvesting!


